
12V OEM RV Battery Bank Relocation Kit
Price range: $120.99 through $314.99
The EXPLORIST.life 12V OEM RV Battery Bank Relocation Kit allows you to install an upgraded 12V Battery Bank in a new location and still deliver power to the OEM battery bank location for simple installation.
Description
This 12V OEM RV Battery Bank Relocation Kit allows you to install an upgraded 12V Battery Bank in a new location and still deliver power to the OEM battery bank location by replacing the existing batteries with busbars powered from the Lynx Distributor near the relocated battery bank. The length of wire for this kit needs to be long enough to reach from the Lynx Distributor in the new battery bank location to the OEM battery bank location. The included busbars are to replace the OEM batteries. All pre-existing loads connected to the OEM battery bank will be connected to the busbars so that those wires do not need to be moved/extended/relocated.
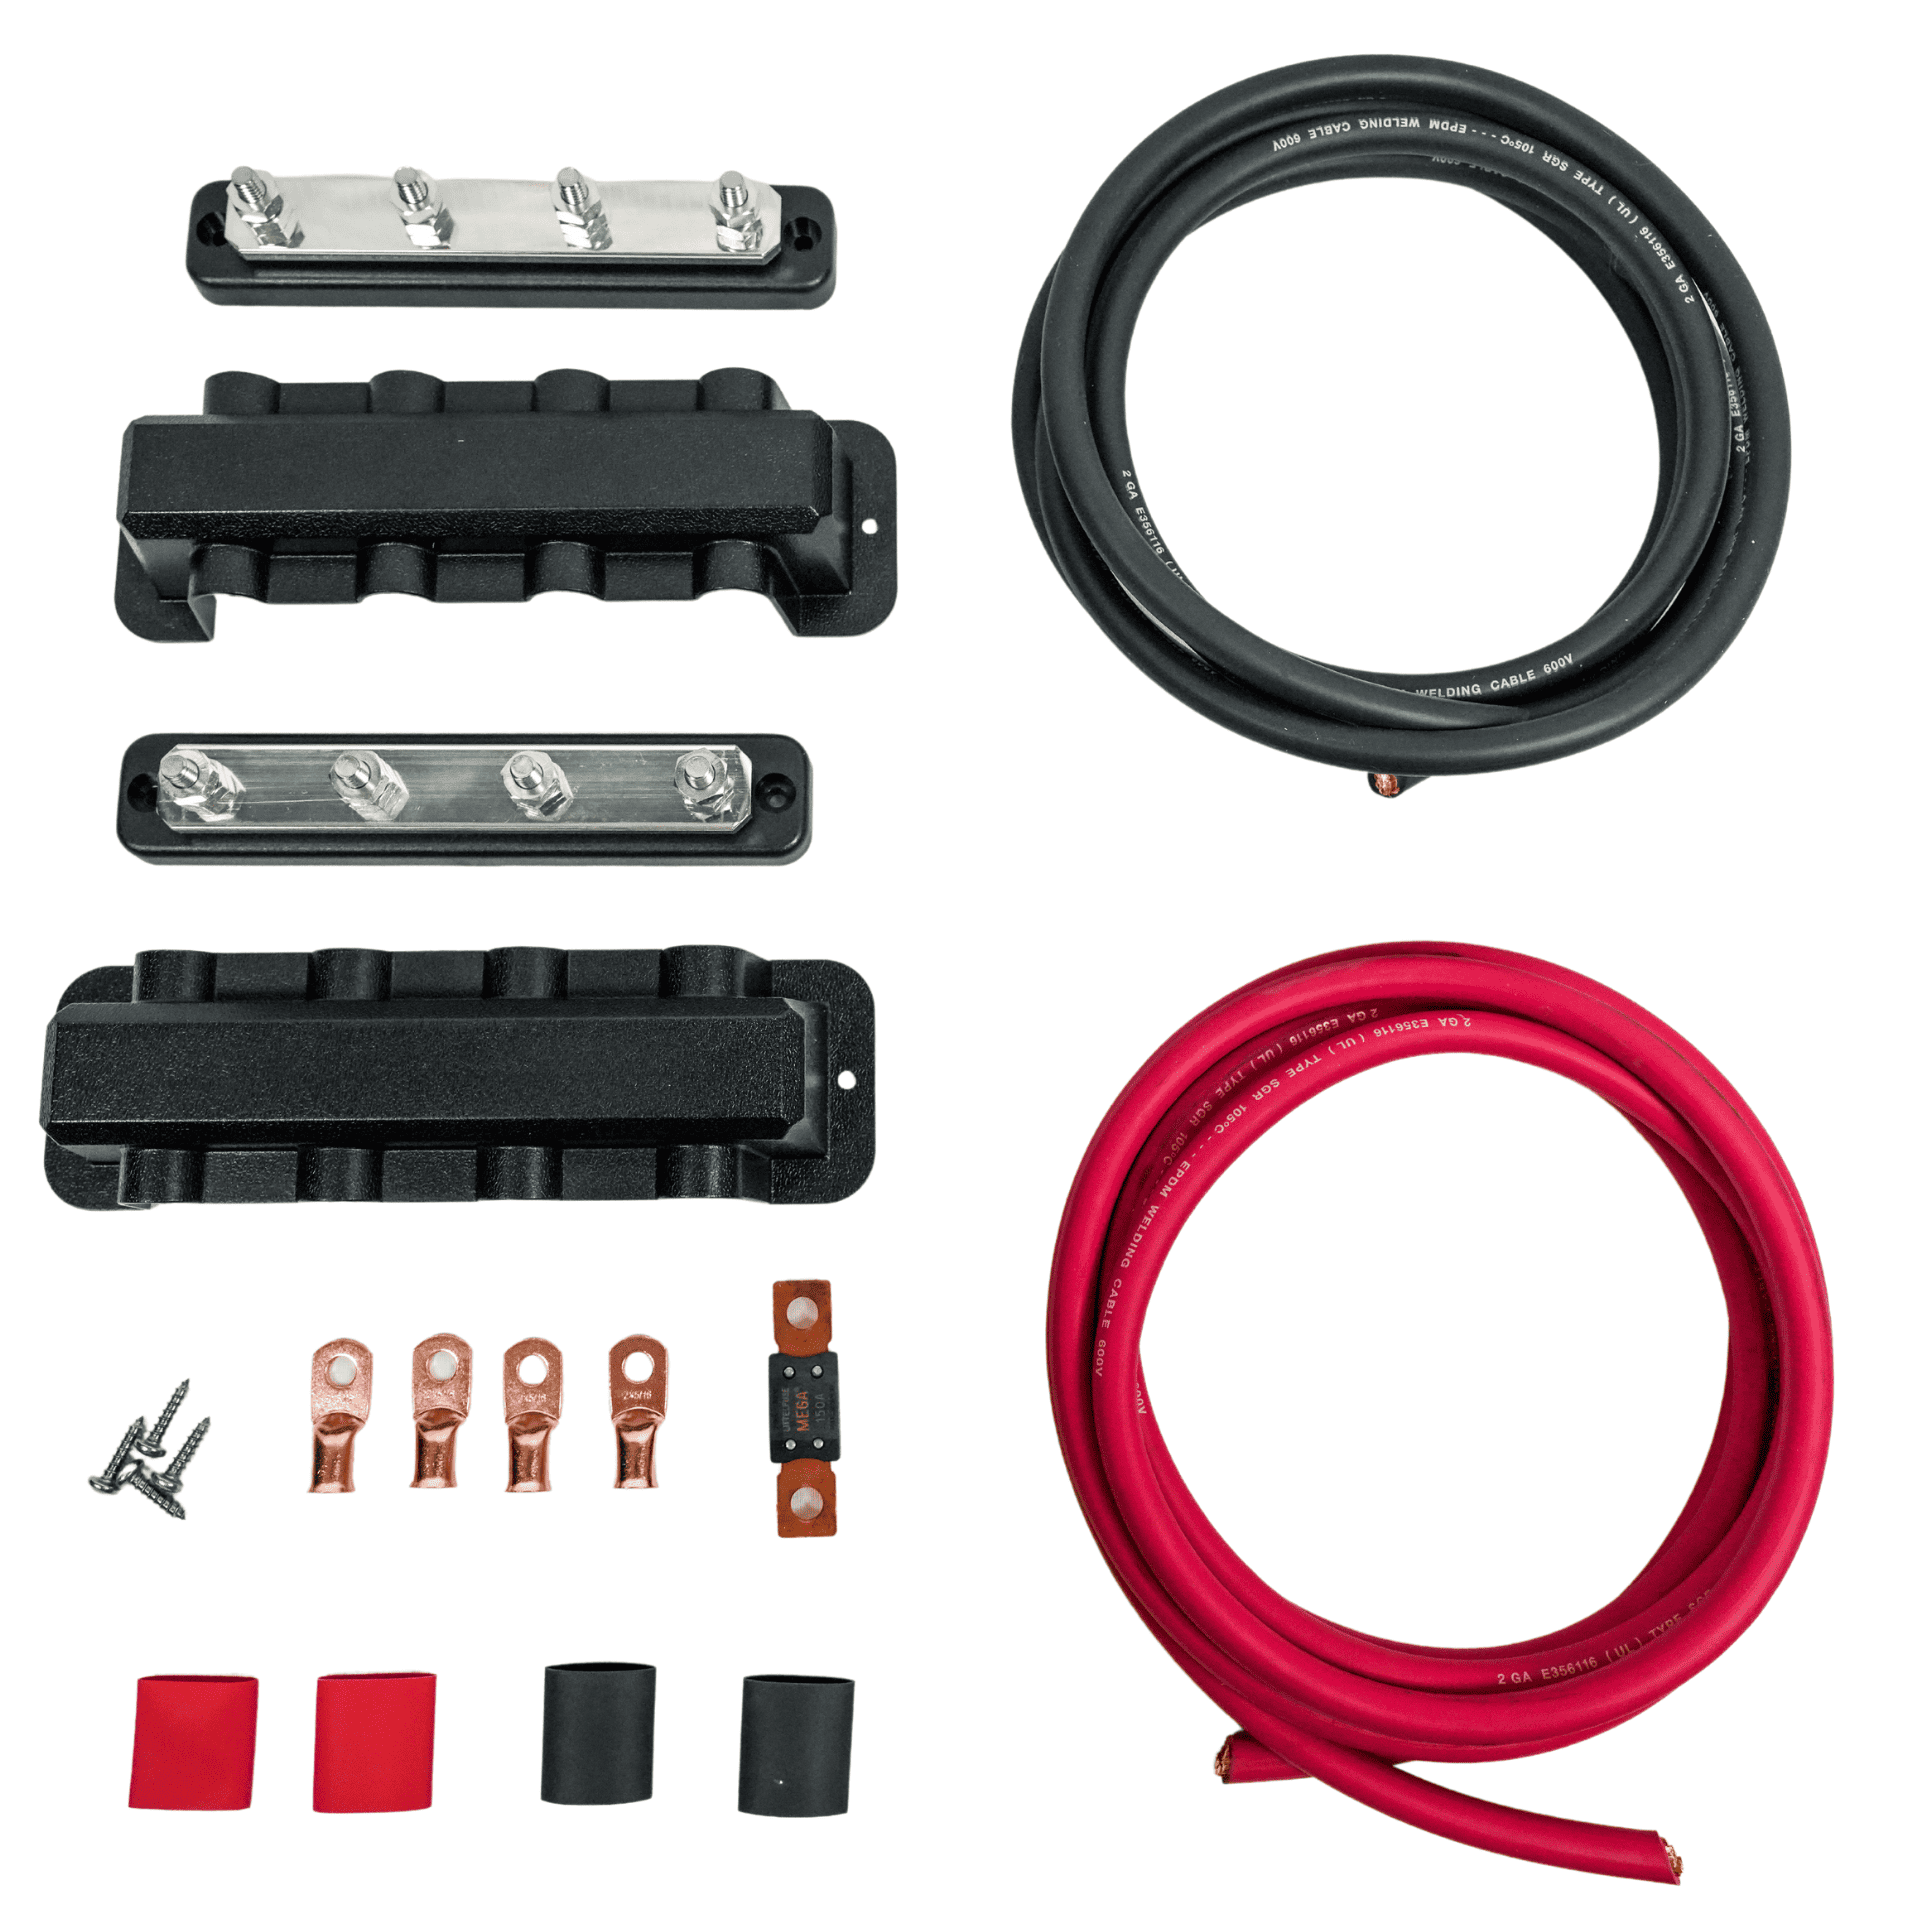
12V OEM RV Battery Bank Relocation Kit (Internal BMS/Universal) Contents (Click to expand)
| Component | QTY |
| 2 AWG Battery Wire – Black | Length Varies |
| 2 AWG Battery Wire – Red | Length Varies |
| 2 AWG x 5/16″ Wire Lug | 4 |
| 3/4″ Red Heat Shrink | 2 pcs |
| 3/4″ Black Heat Shrink | 2 pcs |
| 150 Amp MEGA Fuse | 1 |
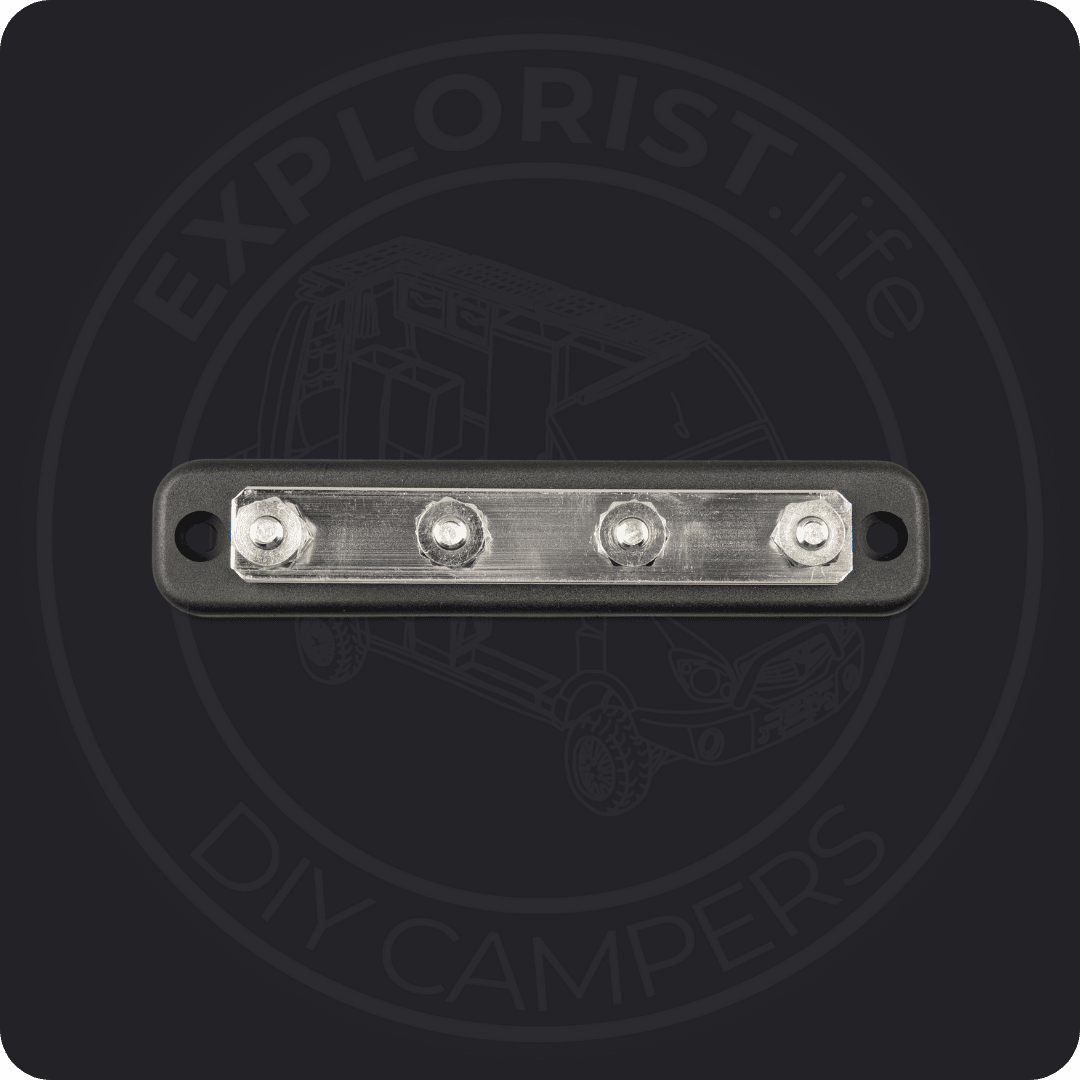
| Victron Energy Busbar with Cover OR 5/16″ Junction Studs | 2 |
| Mounting Hardware for Busbars | 1 pk |
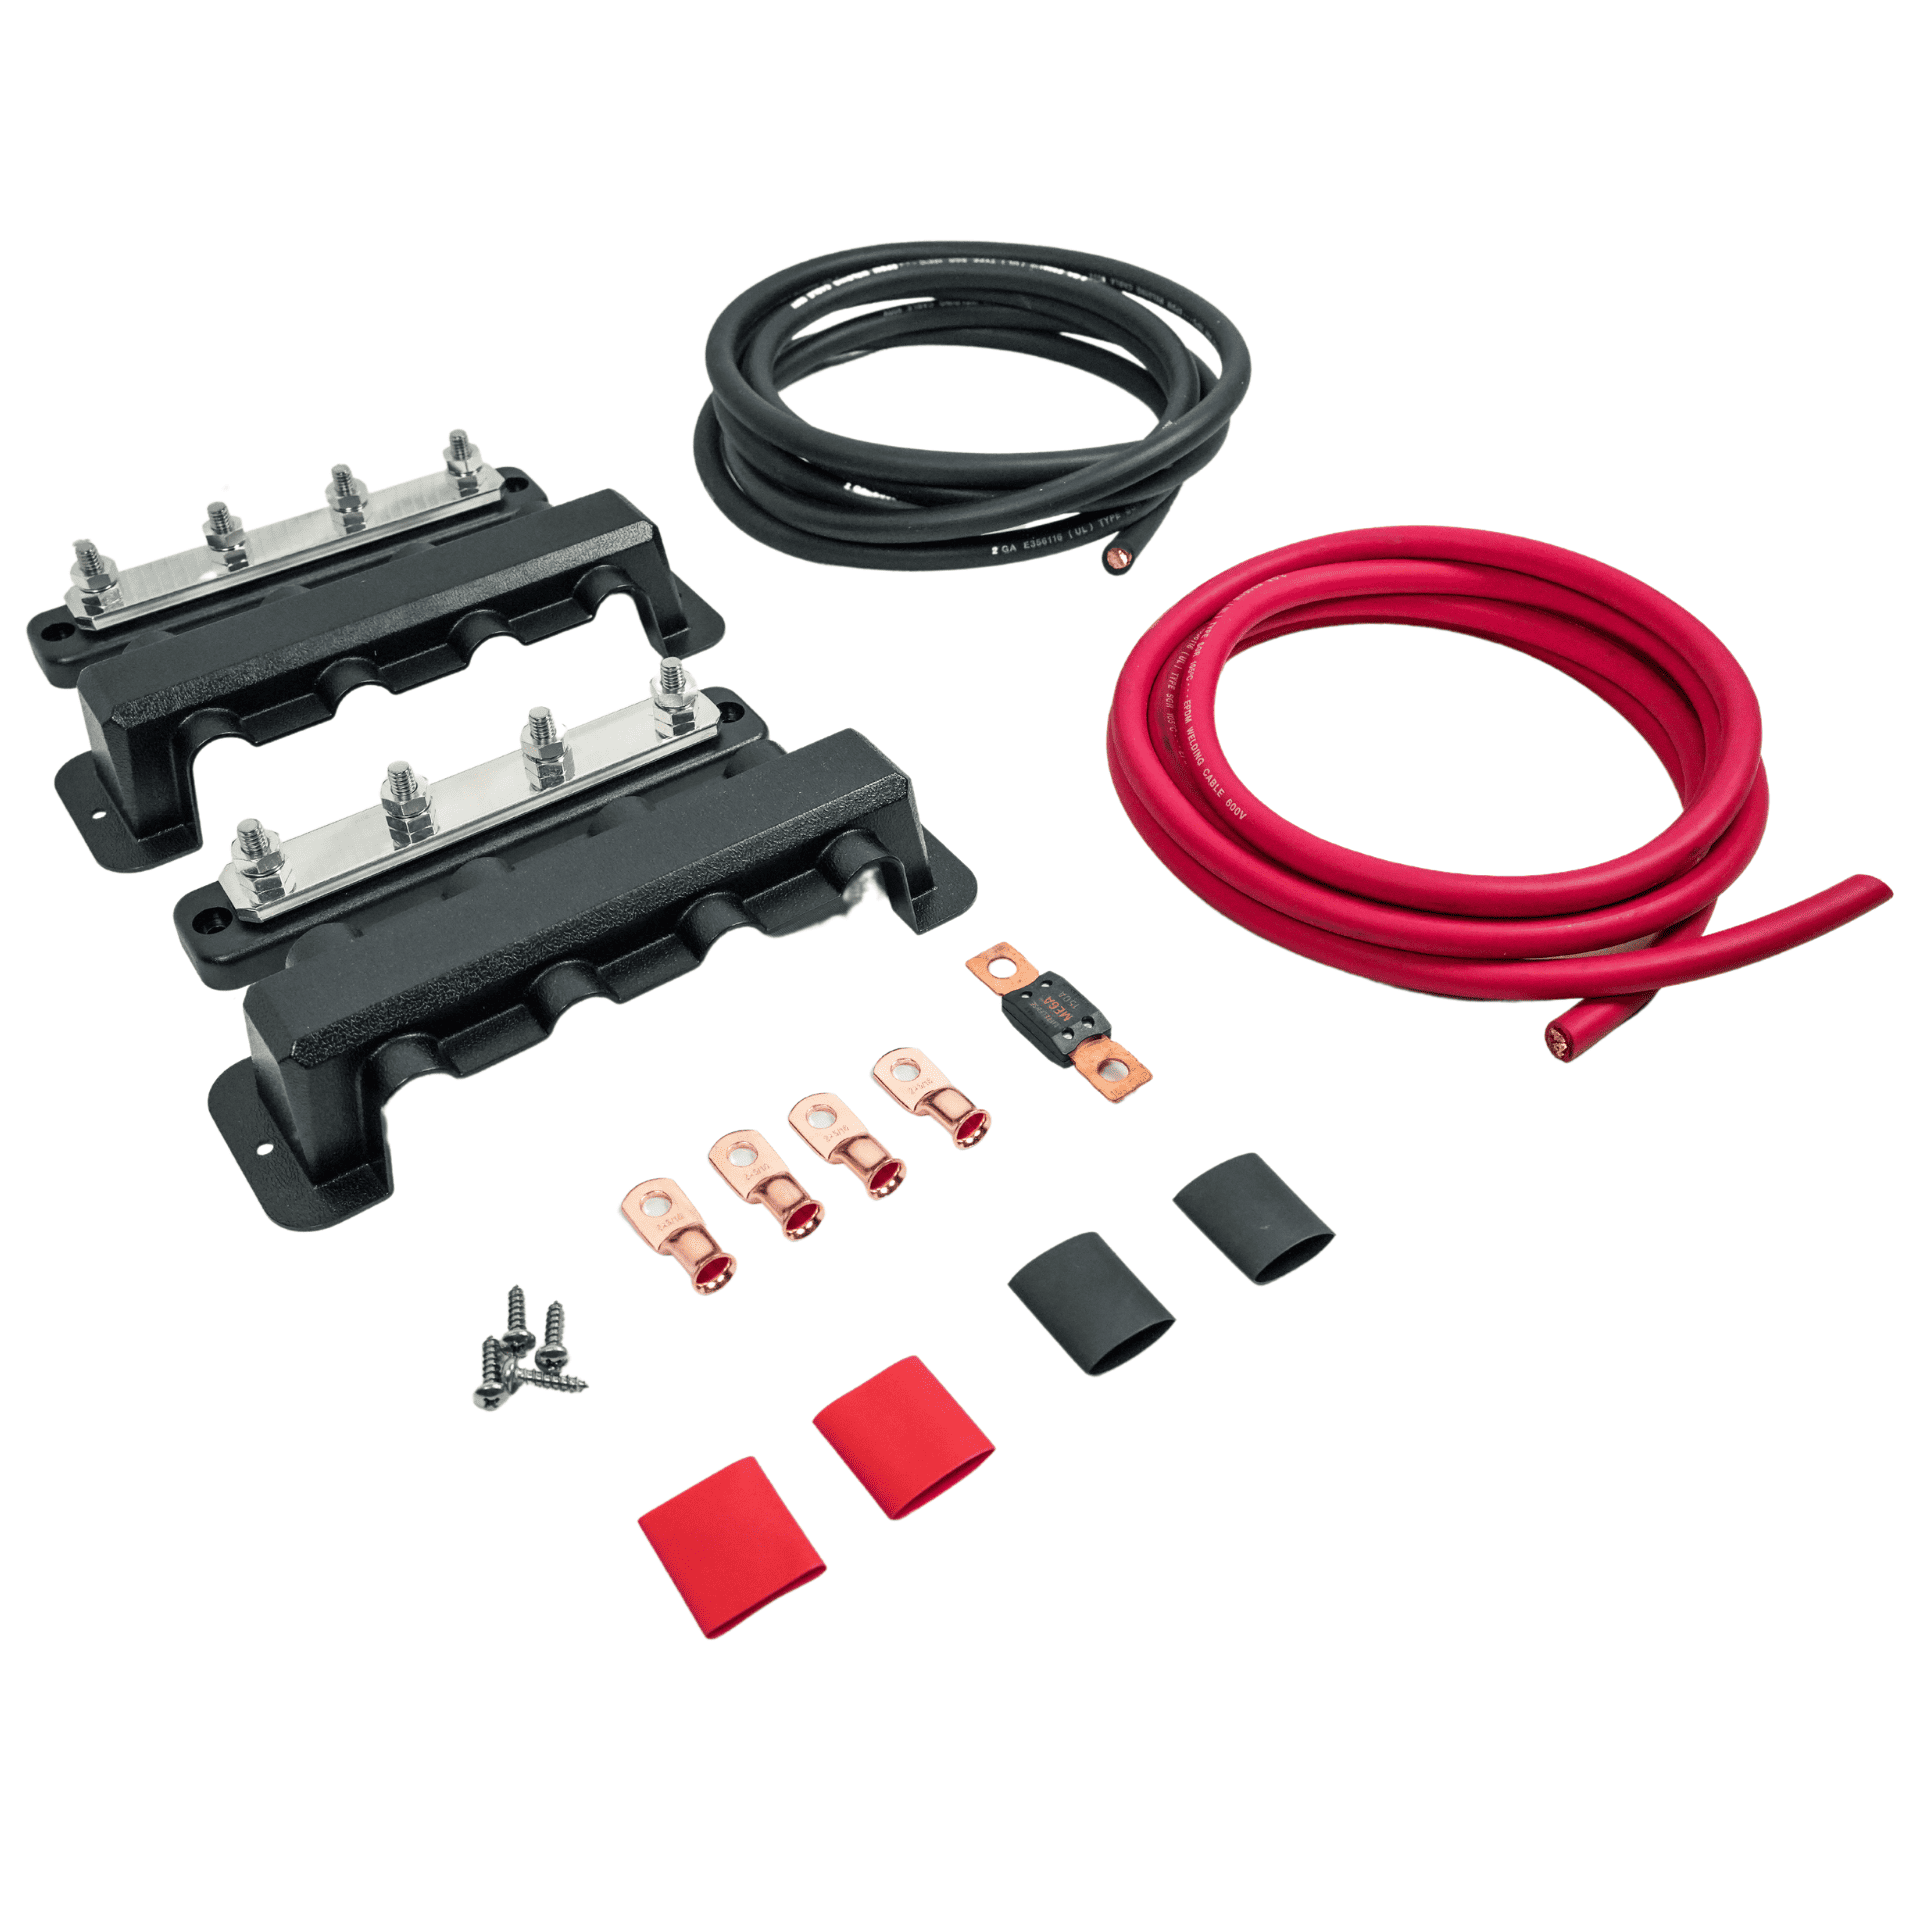
12V OEM RV Battery Bank Relocation Kit (Victron NG Batteries) Contents (Click to expand)
| Component | QTY |
| 2 AWG Battery Wire – Black | Length Varies |
| 2 AWG Battery Wire – Red | Length Varies |
| 2 AWG x 5/16″ Wire Lug | 6 |
| 3/4″ Red Heat Shrink | 4 pcs |
| 3/4″ Black Heat Shrink | 2 pcs |
| 150 Amp MEGA Fuse | 1 |
| Victron Energy Busbar with Cover | 2 |
| 18 AWG Primary Wire – Blue – Spool 45′ | 1 |
| 18 AWG Primary Wire – Black – Spool 45′ | 1 |
| 18-22 AWG x 5/16″ Heat Shrink Ring Terminal | 1 |
| Mounting Hardware for Victron Smart Battery Protect | 1 |
| Mounting Hardware for Busbars | 1 pk |
Busbar Vs Junction Studs
If you have 3 or less connections coming off of your OEM battery bank studs, then you can simplify your wiring and save space and money by selecting the junction studs rather than busbars.
If your OEM battery bank has MORE than 3 connections, please select the busbar, as you will need the additional studs.
Never stack more than 4 lugs onto a single stud.
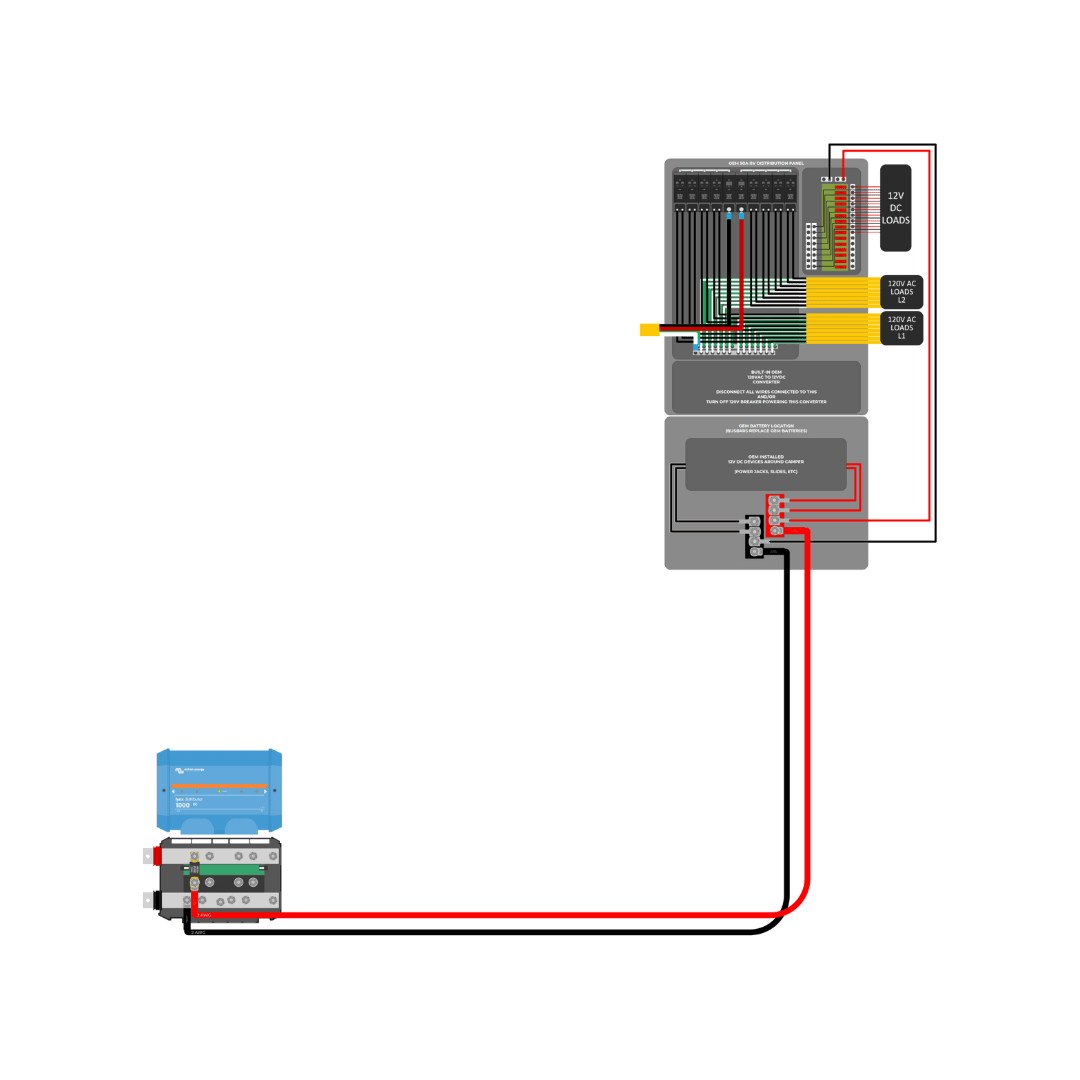
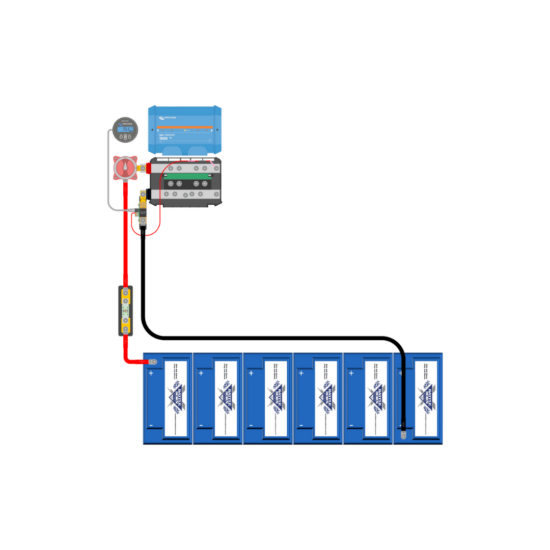
This diagram shows how to wire the relocated battery bank from the Lynx Distributor to the original location of the OEM Batteries:

This diagram shows the wiring with a Victron Smart Battery Protect (sold separately) for use with Victron NG Batteries:

ADDITIONAL PRODUCT INFORMATION (click to expand)
- 2 AWG Wire (Red and Black)
- Size: 2 gauge (AWG)
- Type: Bare Copper Stranded SGR Wire
- Insulation Type: EPDM
- Temperature Rating: -50°C to +105°C
- Max Voltage: 60V DC
- 2 AWG x 5/16″ Wire Lugs
- Size: 2 gauge (AWG)
- Type: Standard Bare Copper
- Size: 5/16″
- 150 Amp MEGA Fuse
- Current Rating: 150A
- Voltage Rating: 32V
- Type: Bolt Down Fuse
- Terminal: Copper
- Busbars with Cover:
- Manufacturer: Victron Energy, B.V.
- Current Rating: 250A
- Voltage Rating: 70V DC
- Busbar Material: Tin-plated copper
- Terminal Count: 4
- Terminal Material: Stainless Steel
- Terminal Diameter: 5/16″
- Color: Black
Additional information
| Weight | 5 lbs |
|---|---|
| Dimensions | 10 × 10 × 4 in |
| Wire Length | 10ft, 20ft |
| Connection Type | Busbar (over 4 connections), Junction Stud (3 or less connections) |
| Wiring Kit Application | Battery Bank |
| BMS Type | Internal BMS/Universal, Victron NG Batteries |
1 review for 12V OEM RV Battery Bank Relocation Kit
Related products
-
Battery Bank Wiring Kit
Price range: $26.99 through $131.99 Select options This product has multiple variants. The options may be chosen on the product page -
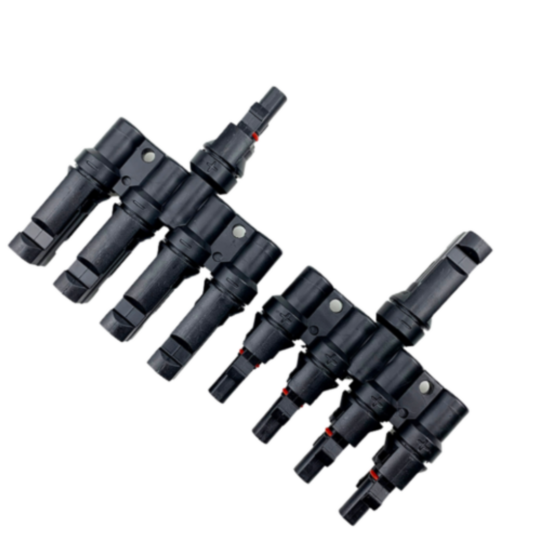
4-to-1 PV Branch Connector
$17.99 Add to cart -
Lynx Distributor Wiring Kit
Price range: $209.99 through $450.99 Select options This product has multiple variants. The options may be chosen on the product page -

10 AWG Solar Wire
Price range: $15.99 through $152.99 Select options This product has multiple variants. The options may be chosen on the product page

Mike de Guzman (verified owner) –
I like that the kit comes with everything you need. I did not use the studs as I connected negative wire directly to the tongue of my travel trailer. I then connected the positive wire to where the positive wire from the battery box is connected to another busbar for 12V accessories. I overestimated the length but then gave me extra 2AWG to use for grounding my Lynx Distributor and other components. Overall, This kit made my first DIY install easy.